Light control · Level 2

Exposure in the Wild

L2

One workflow for changing light

On safari you rarely have time to rethink exposure. The light swings from deep shade under a sausage tree to glaring sand in seconds, and the animal will not wait. The workflow below keeps the two settings that shape the image — shutter speed and aperture — under your control, and hands brightness to the camera within limits you set.

  1. Manual mode, Auto ISO on. Choose shutter speed for the subject's movement and aperture for depth of field.
  2. Cap Auto ISO at the highest value you accept from your sensor, often 6400 to 12800 on recent full-frame bodies.
  3. Steer with exposure compensation. Most cameras allow it in manual mode with Auto ISO. Watch the histogram, not the rear screen brightness.
  4. Turn on highlight warnings and check the brightest important tone: a zebra stripe, an egret, a cloud behind a giraffe.
  • 1/1000 s moving mammals
  • 1/2500 s birds in flight
  • f/5.6–f/8 one or two animals sharp
  • ISO cap 6400–12800
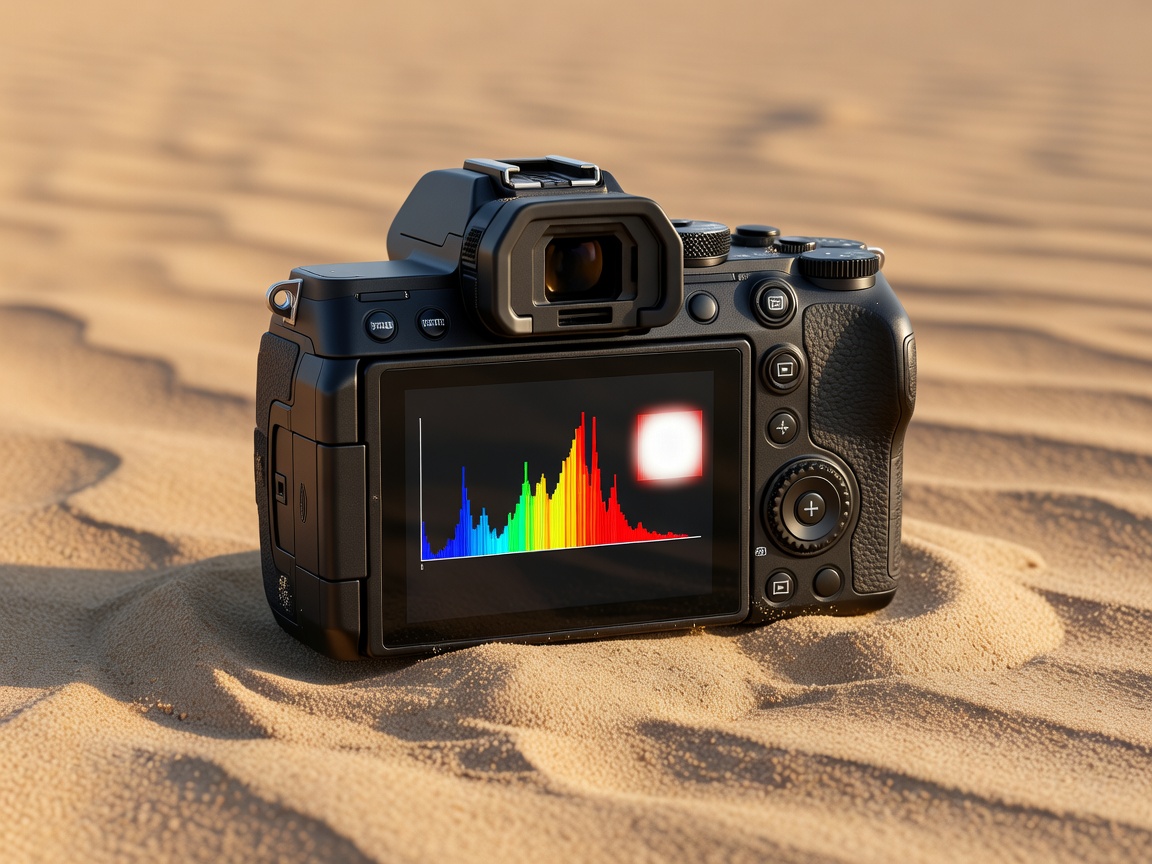
3D render of the back of a mirrorless camera showing a histogram, highlight warning area and exposure compensation button on a sand background
Simulated render: rear-screen histogram and highlight warning layout. A diagram, not a real camera capture.

Why the meter misjudges dark and pale animals

A camera meter assumes the scene averages to a middle tone. When a dark buffalo or a black-maned lion fills most of the frame, the meter brightens the scene and the animal turns grey; dial in negative compensation, perhaps −0.7 to −1 EV. When a pale subject or a bright sky dominates, the meter darkens everything; add positive compensation, but check that white fur still holds texture.

Zebras are the classic test: expose so the white stripes keep detail, then lift shadows later. Raw files recover shadows far better than clipped highlights.

The short golden window

Near the equator — the Masai Mara sits just south of it — the sun rises and sets steeply. Warm, low light lasts perhaps 30 to 45 minutes after sunrise and before sunset. Further south, in Etosha or the Kgalagadi, winter mornings offer a longer soft period. Plan to be at a sighting, not driving to one, when that light arrives.

In the hour after sunrise, place the sun behind you for clean, even light, or to the side for texture on manes and horns.

Backlight and rim light

When the sun sits behind the animal, dust and fine hair glow. Expose for the bright rim and let the body fall dark, or go further to a full silhouette against the sky over the Chobe floodplain. Shade the front element with your hand or the hood to reduce flare, and use spot or highlight-weighted metering if your camera has it.

Midday and heat haze

Harsh overhead light is not useless: it suits graphic shapes, deep shade and black-and-white conversions. The bigger problem at long distances is heat shimmer. Hot air between you and the subject softens detail no matter how good the lens. You cannot fix it with settings, and moving closer is not the answer. Shoot earlier, choose subjects with less hot ground between you, or accept the softer image.

Scenario starting points

Starting settings, full-frame body, adjust to your camera
ScenarioShutterApertureCompensationNote
Resting cat, morning light1/500 sf/5.60 EVRaise to 1/1000 s if alert
Zebra herd, bright sun1/1000 sf/8−0.7 EVProtect white stripes
Buffalo in shade1/800 sf/6.3−0.7 EVKeep blacks black
Fish eagle in flight1/3200 sf/6.3+0.3 to +0.7 EV vs skyCheck white head
Elephant silhouette at dusk1/500 sf/8−1.3 EVExpose for the sky
Ethical stop point. Do not use flash on nocturnal animals, and follow the guide's spotlight rules on night drives. Light that dazzles a hunting or hunted animal changes the outcome of its night.