Frame design · Level 1

Composing at a Distance

L1

Small in the frame can be a choice

Distance changes what a photograph can say. A tight portrait tells you about one animal; a wide frame tells you about its world. When the animal is far away, you can fight that with crops and converters, or you can use it. The second path usually produces stronger, more honest work — and it never requires a closer approach.

The environmental portrait is the natural home of distant subjects: a giraffe crossing a burnt plain in Etosha, a herd threading through papyrus channels in the Okavango, elephants below Kilimanjaro in Amboseli. The animal can occupy five percent of the frame if it is the clearest, most readable element in it.

Worked example: elephant and mountain

  • 200 mm to fit mountain and herd
  • f/8 for depth across the scene
  • Herd on the lower third line
  • Peak placed opposite for balance
  • Horizon checked with the level
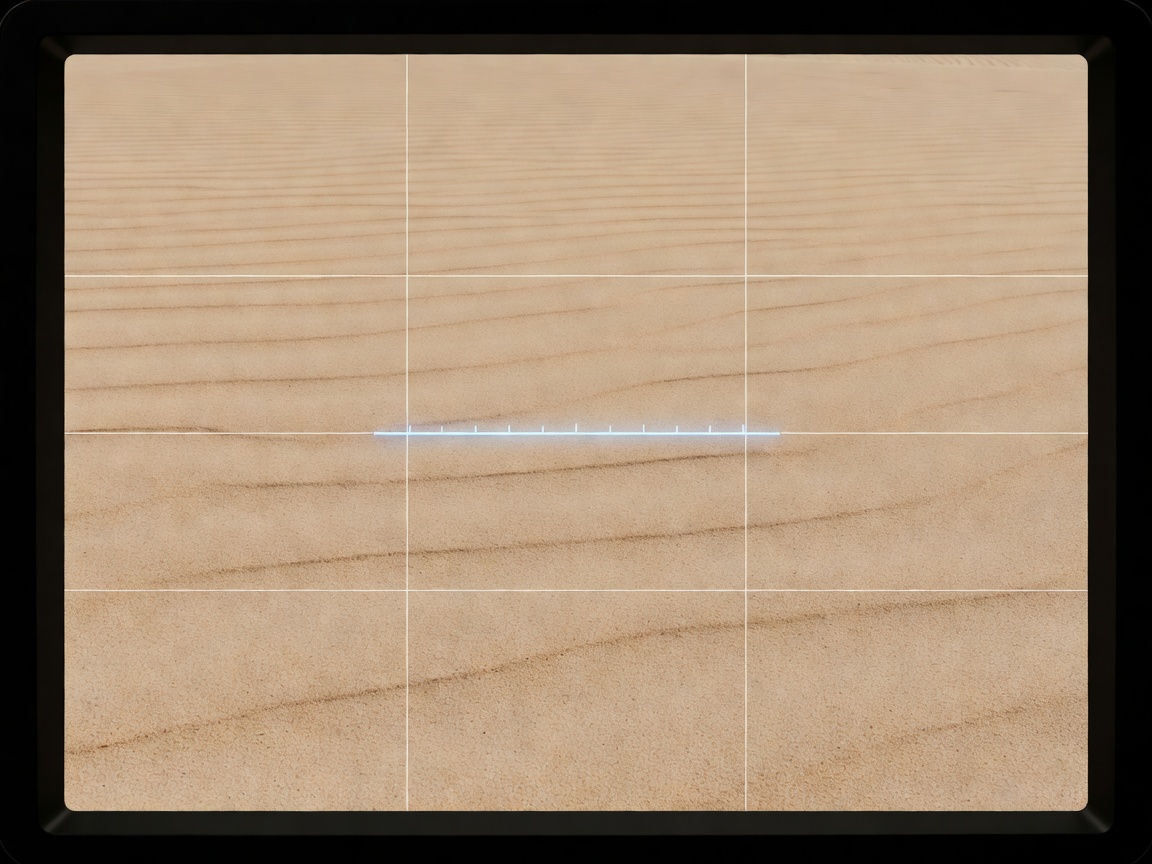
3D render of a camera viewfinder with a rule-of-thirds grid and electronic level overlay on a plain sand background
Simulated render: thirds grid and electronic level as seen in an electronic viewfinder. Illustration only.

Control the background without moving closer

Background blur depends on aperture, focal length and — most of all — the ratio between subject distance and background distance. An animal standing in front of a far-off treeline gives a smooth backdrop even at f/6.3; the same animal standing against a bush will not. You cannot move the animal, but you can often shift your angle by a few metres along the track, with the guide's agreement, so that a distant horizon replaces a nearby thicket.

Scan the edges and background before you press: a bright branch, a second vehicle or a stray tail pulls the eye out of the frame.

Eye level and angle

Shooting down on animals flattens them. Lower is usually better: sit low in the vehicle, rest the lens on the door rather than the roof, or use a purpose-built hide. Some private reserves, such as Zimanga in KwaZulu-Natal, operate low hides at waterholes for exactly this reason — the animals come to the water on their own terms, and you photograph at their eye height without approaching.

Space, direction and the horizon

  • Leave room in the direction the animal faces or moves.
  • Place the eye near a thirds intersection, then break the rule if symmetry suits.
  • Level the horizon using the camera's electronic level.
  • Avoid cutting limbs at joints; crop between them.
  • Keep the eye sharp; a soft eye undermines any composition.

Cropping honestly

Cropping is a normal part of distant work. Decide the aspect ratio by subject: 3:2 for most scenes, 16:9 for wide landscapes with a running herd, 4:5 or square for a single upright figure. Leave a margin when shooting, because tight framing in the field leaves nothing to straighten or recompose later.

Competitions such as the Natural History Museum's Wildlife Photographer of the Year allow cropping but restrict adding or removing elements. Following similar rules in your own work keeps your images trustworthy.

A composition routine for each sighting

  1. Make one safe record frame immediately.
  2. Widen and look for the environmental picture.
  3. Check background and edges; ask about small repositioning only if the animal is relaxed.
  4. Choose the tight frame and wait for the head to turn or the light to change.
Ethical stop point. A cleaner background is never a reason to circle an animal, block its path or join a crowd of vehicles. If the angle you need requires pressure on the animal, choose a different picture.